How to fold a Swan
- Difficulty
- Medium
- Steps
- 13 steps
- Paper
- One square sheet
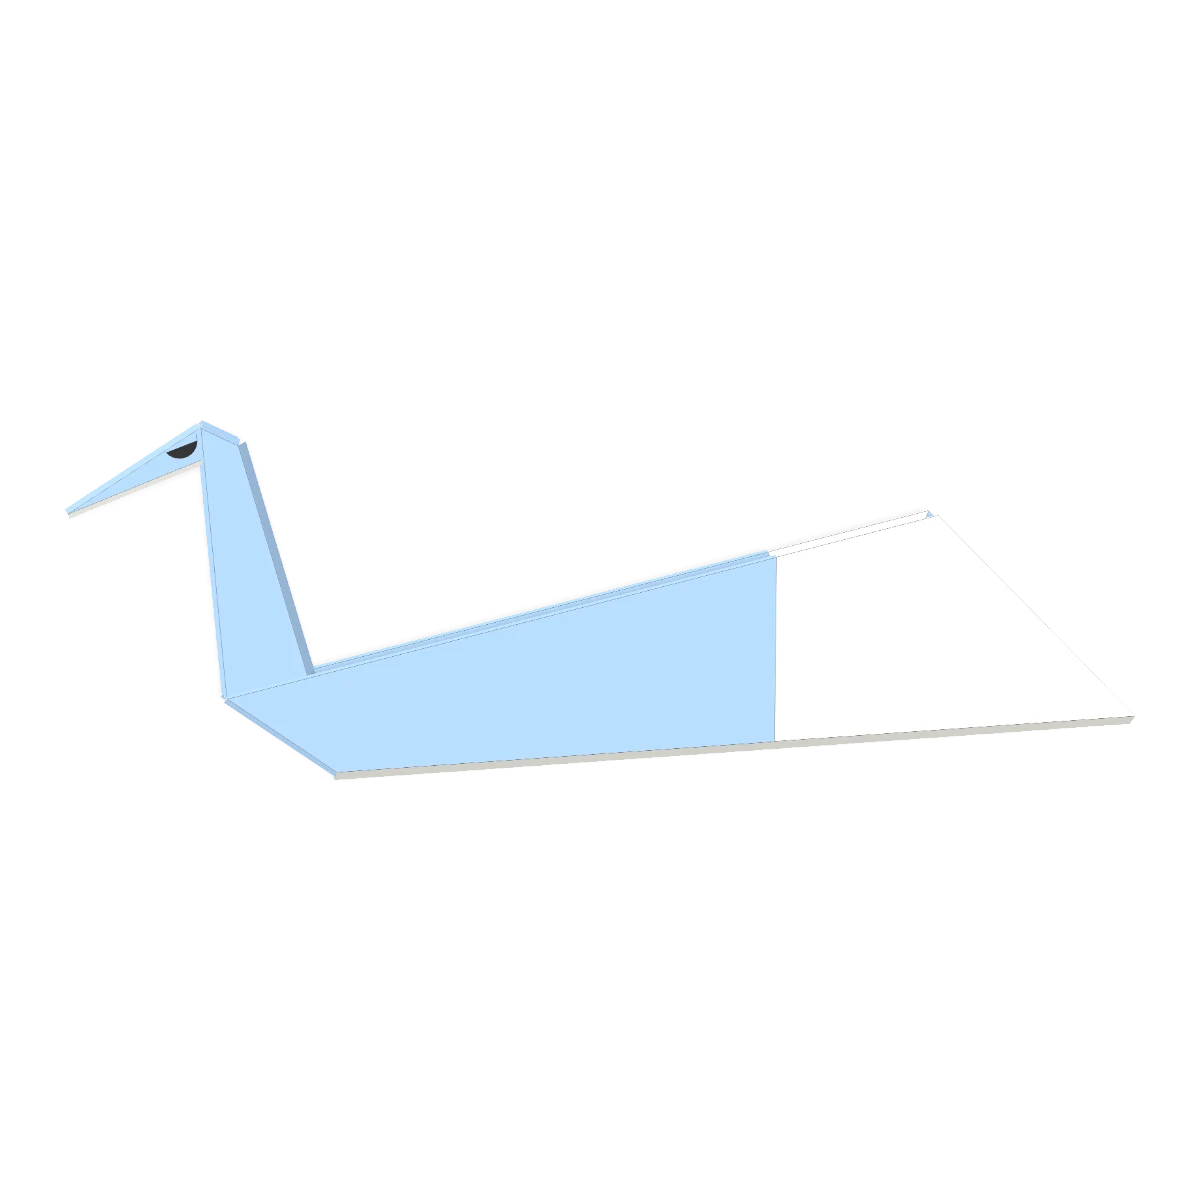
Fold a kite shape into a slim one, fold it in half, and reverse-fold the neck and head upright to make a long-necked swan.
Steps to fold a Swan (13 steps)
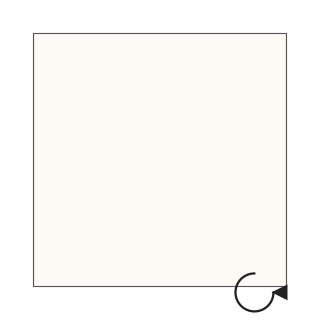
Step 1Start with the white side up and turn the paper so a corner points toward you.
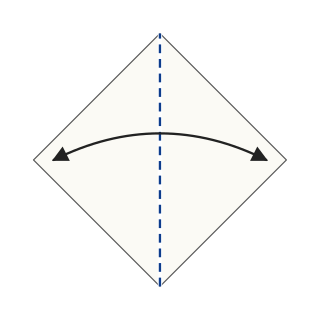
Step 2Fold the left corner to the right corner and unfold, to make a vertical center crease.
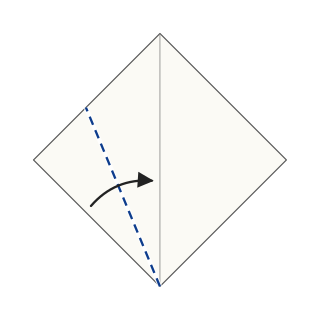
Step 3Fold the lower left edge in to the center crease.
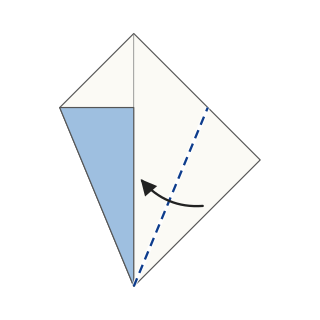
Step 4Fold the bottom right edge to the center crease too. This is the kite base.
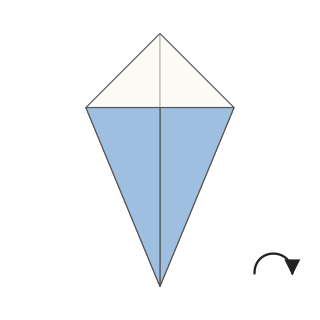
Step 5Turn the paper over.
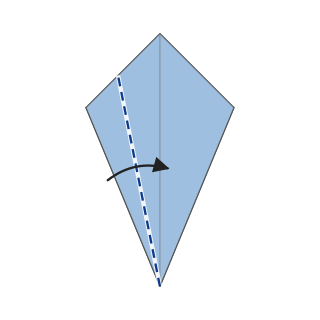
Step 6Fold the lower left edge to the center crease once more.
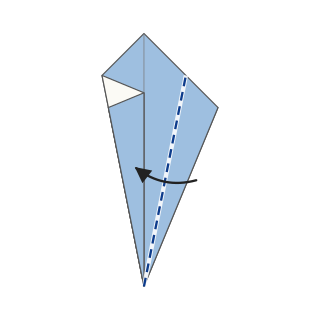
Step 7Fold the lower right edge too to make a slim kite.
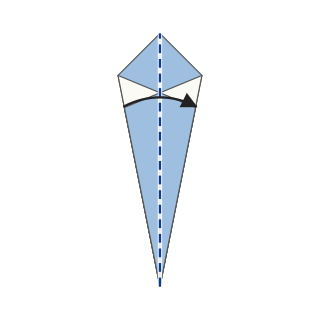
Step 8Fold the left half over to the right along the center crease.
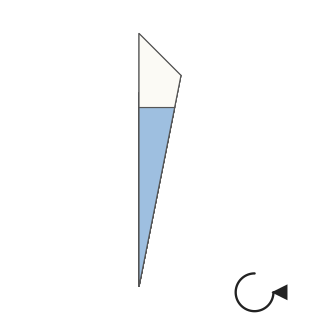
Step 9Turn it so the thin end points left.
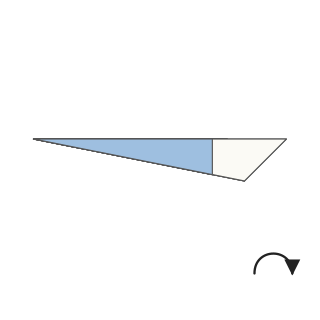
Step 10Flip it top to bottom so the folded edge is at the bottom.
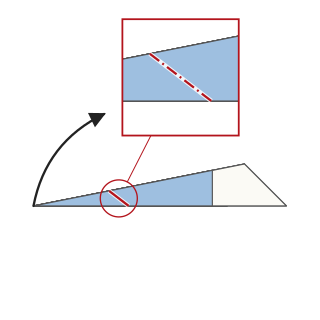
Step 11Open the thin left end a little and fold it up inside itself (inside reverse fold). This is the neck.
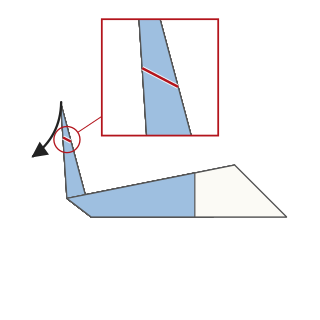
Step 12Reverse-fold the tip of the neck forward to make the head.
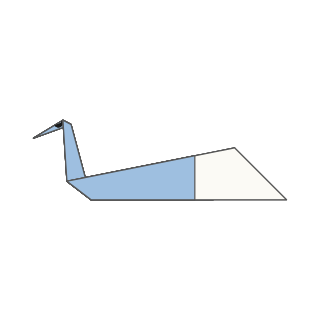
Step 13Draw the eye. The swan is finished.
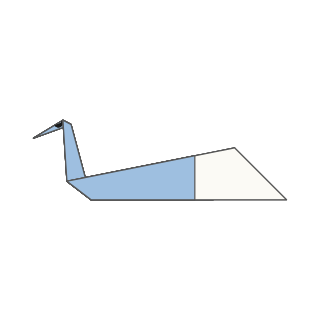
Finished