How to fold a Car
- Difficulty
- Easy
- Steps
- 10 steps
- Paper
- One square sheet
Fold the bottom edge to the middle, fold the top corners back at a slant, then fold in half: the low front becomes the body and the back becomes the roof. Draw the windows and wheels to finish.
Steps to fold a Car (10 steps)
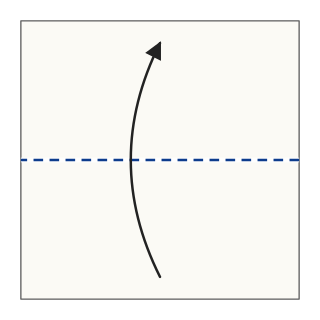
Step 1Start with the white side up. Fold the bottom edge up to the top edge, crease, and unfold.

Step 2Fold the bottom edge up to the middle crease.
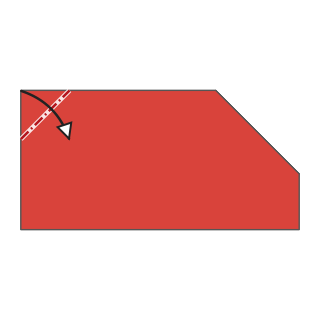
Step 3Fold the top edge a little behind. This lowers the roof.
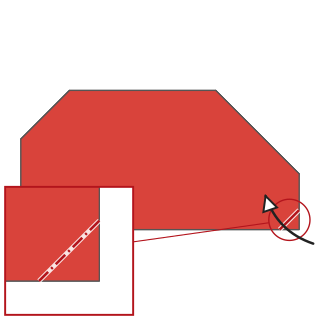
Step 4Fold the top right corner behind at a slant, from the right end of the roof to the right edge a little above the middle crease. This becomes the windshield and the step down to the hood.
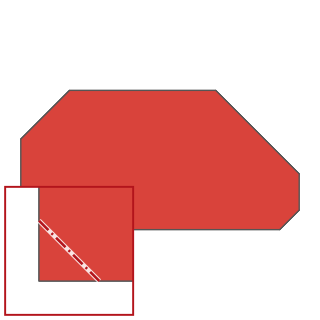
Step 5Fold the top left corner behind at a slant the same way. This becomes the rear window and the trunk.

Step 6Fold the bottom half up on the middle crease. The front (body) is low and only the back layer (roof) sticks up: it's a car.

Step 7Mountain-fold the tips of the two bottom corners a little. Start with the right one.

Step 8Mountain-fold the tip of the left corner too.
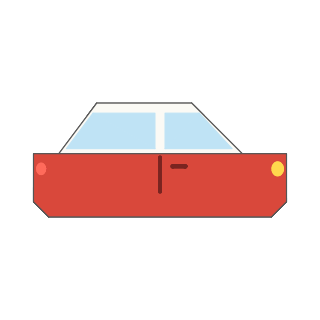
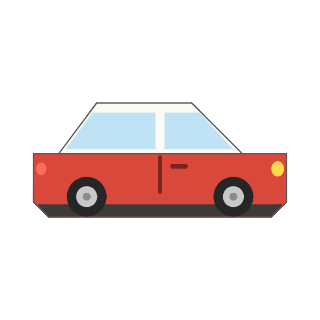
Step 9Draw the windows, the door and the lights.
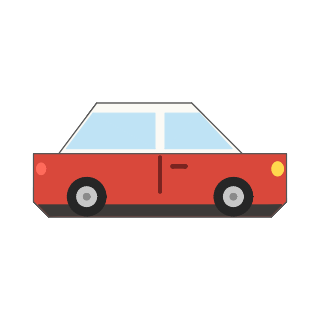
Step 10Draw a dark strip along the bottom of the body, then draw two wheels sitting across it. The car is finished.
Finished