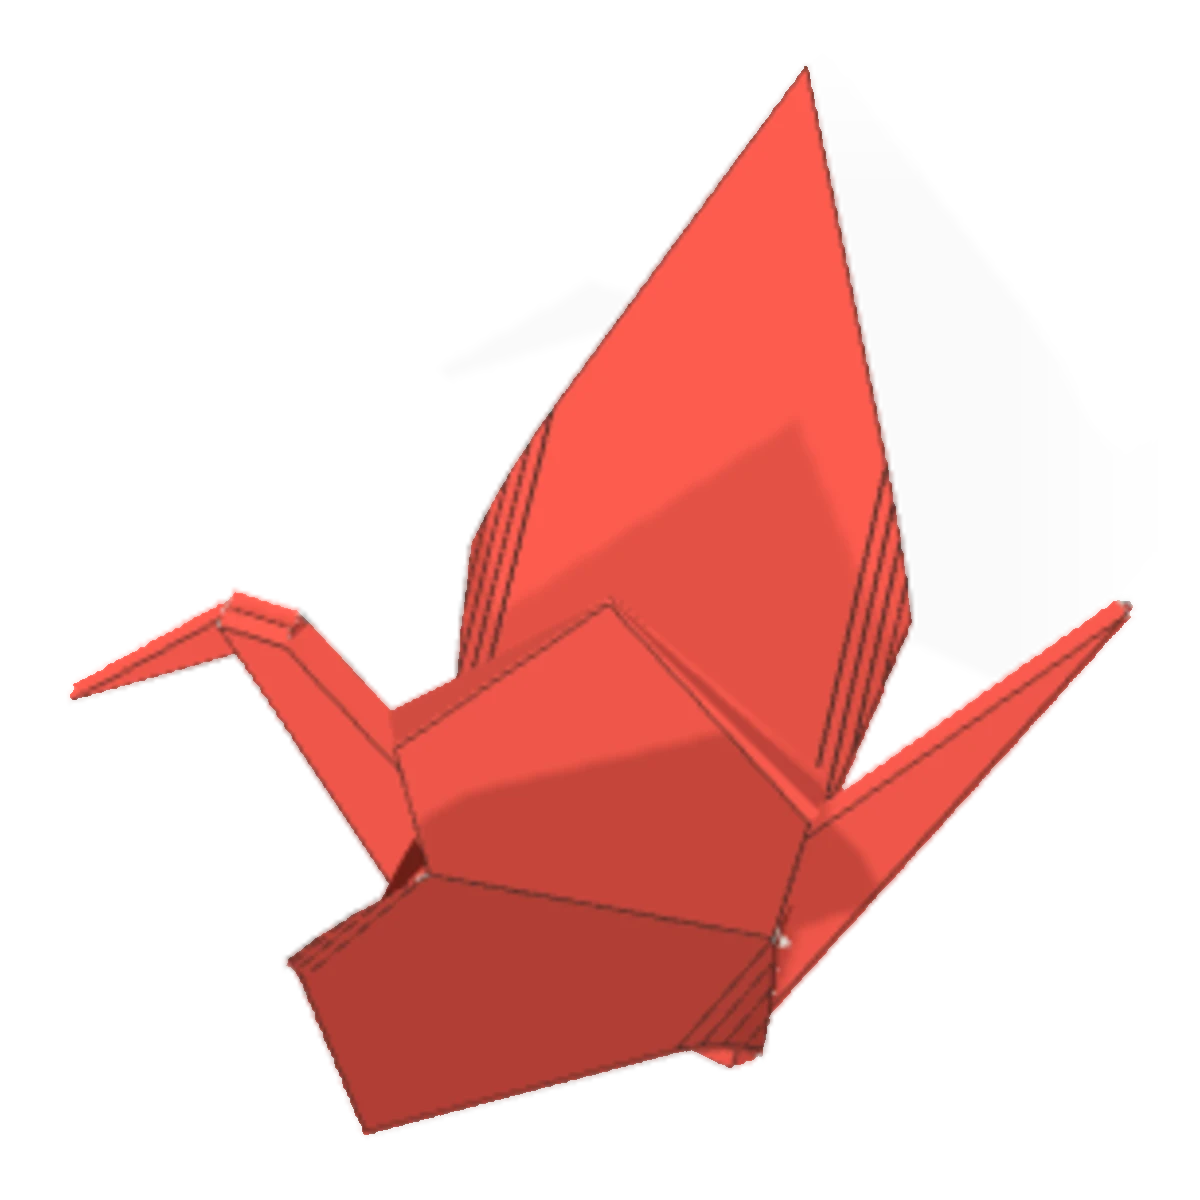
How to fold a Paper Crane
- Difficulty
- Hard
- Steps
- 22 steps
- Paper
- One square sheet
- When finished
- Flap wings / Pull the wings
The tricky parts are the petal folds that turn the square base into the bird base, and the inside reverse folds that raise the neck and tail. Turn the paper to see what happens between the layers.
Steps to fold a Paper Crane (22 steps)
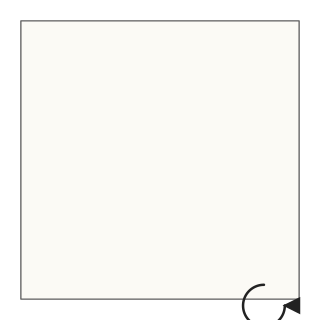
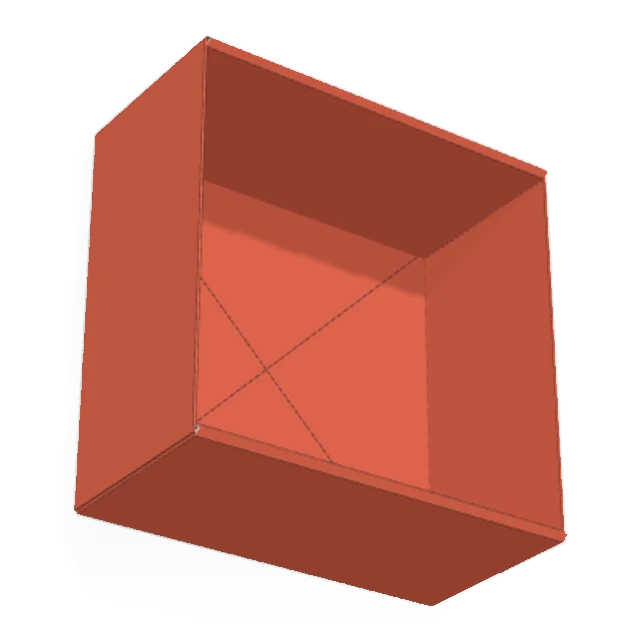
Step 1Start with the white side up and turn the paper so a corner points toward you.
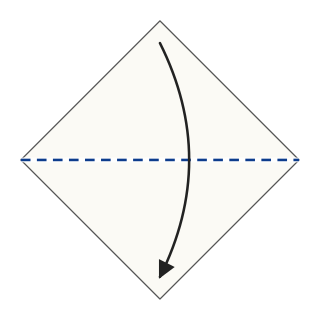
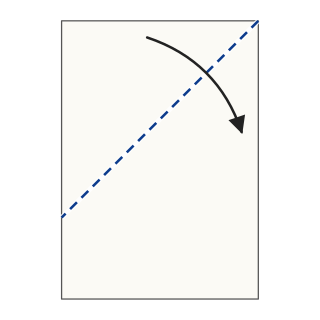
Step 2Fold the top corner down to the bottom corner to make a triangle.
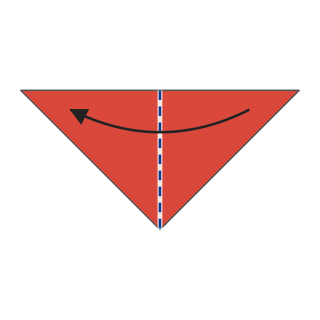
Step 3Fold the right corner over to the left corner to make a smaller triangle.
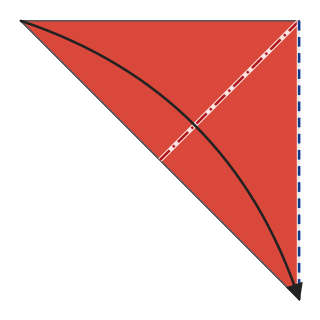
Step 4Open the pocket of the top flap and squash it flat into a square.
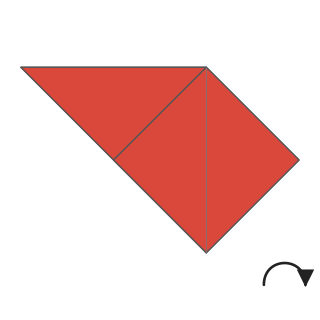
Step 5Turn the paper over.
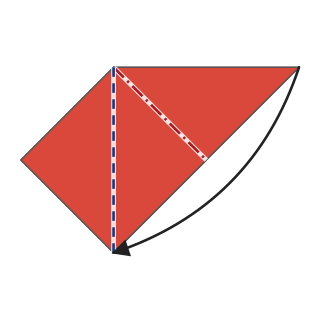
Step 6Open and squash this flap the same way. This is the square base.
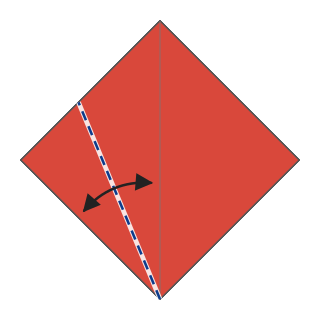
Step 7With the open end down, fold the lower left edge to the center line, then unfold.
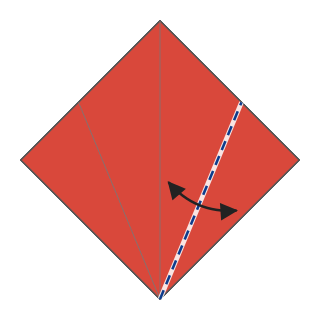
Step 8Fold the lower right edge to the center line, then unfold.
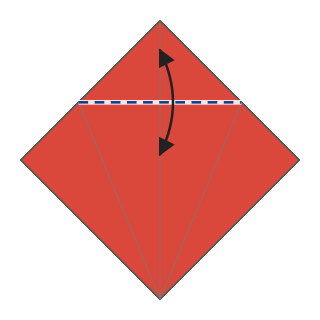
Step 9Fold the top triangle down along the line joining the ends of those creases, then unfold.
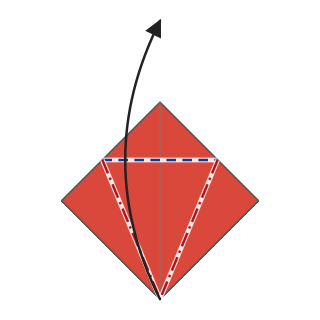
Step 10Lift the bottom corner of the top layer and bring the sides in to the center, flattening into a diamond (petal fold).
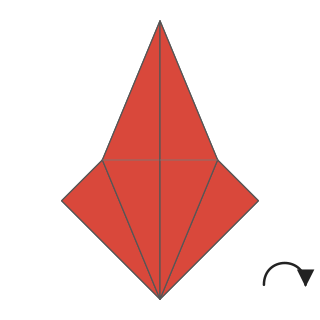
Step 11Turn the paper over.
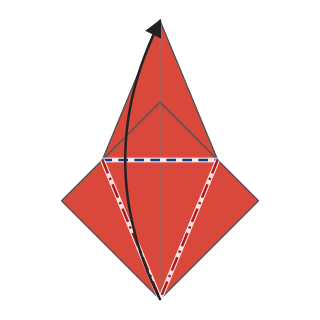
Step 12Petal-fold this side the same way. This is the bird base.
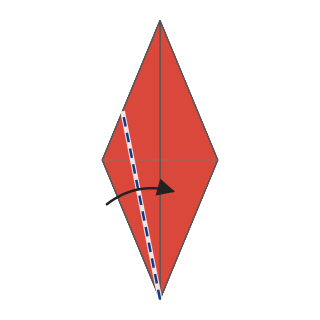
Step 13With the split end down, fold the left edge of the top layer to the center line.
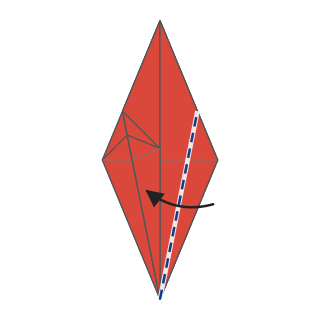
Step 14Fold the right edge to the center line too.
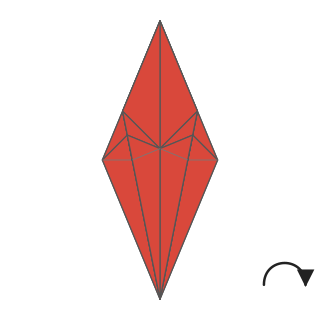
Step 15Turn the paper over.
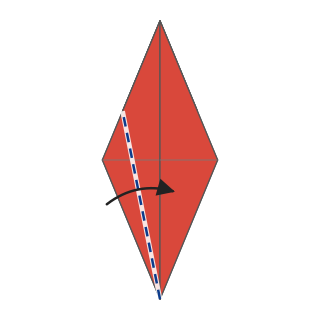
Step 16On this side too, fold the left edge to the center line.
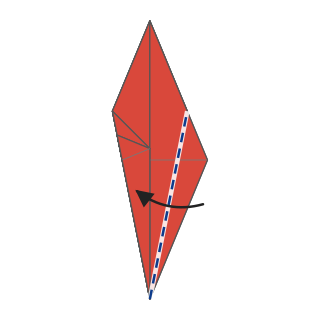
Step 17Fold the right edge the same way.
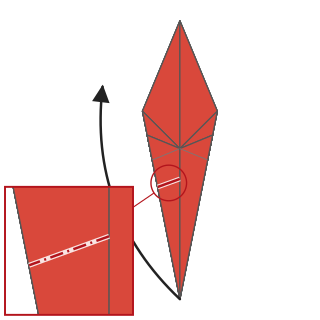
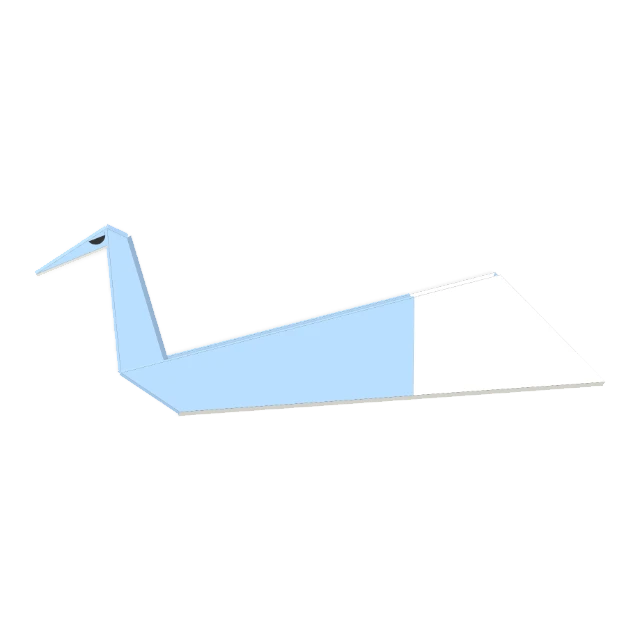
Step 18Open the base of the left point and fold it up inside (inside reverse fold). This is the neck.
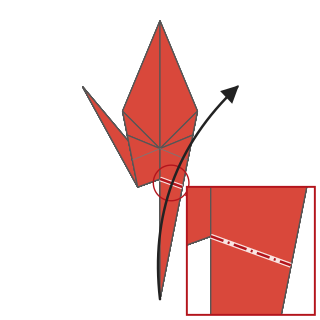
Step 19Fold the right point up inside the same way. This becomes the tail.
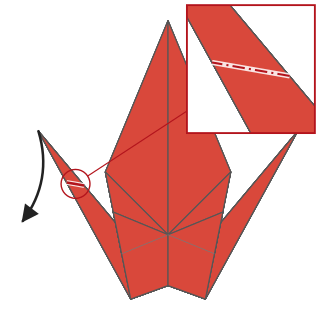
Step 20Make the head with a small inside reverse fold at the tip of the neck.
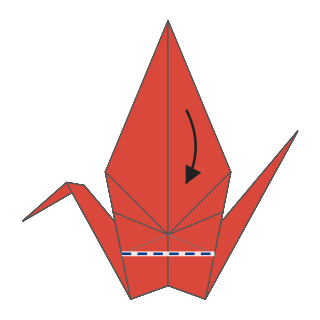
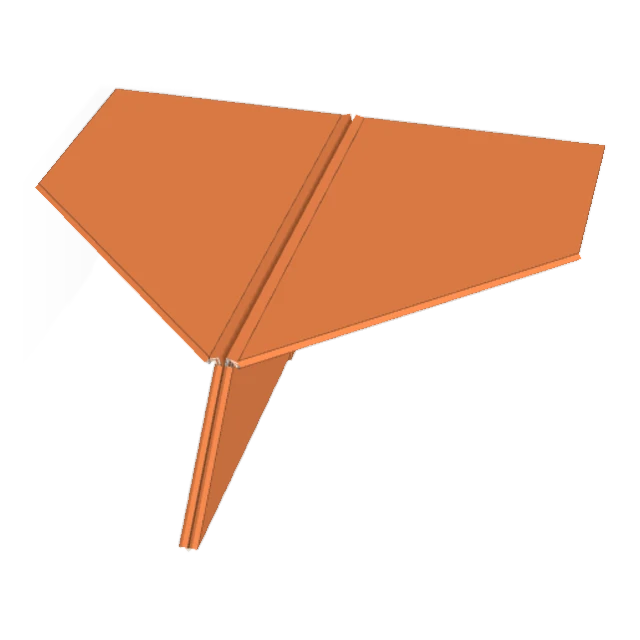
Step 21Open the front wing by folding it down from its root, at the base of the small center triangle.
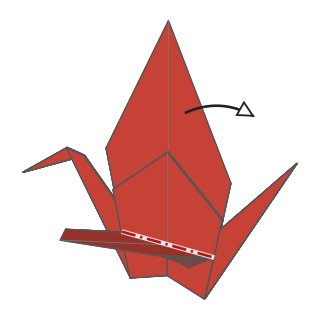
Step 22Open the back wing from its root the same way. The crane is finished.
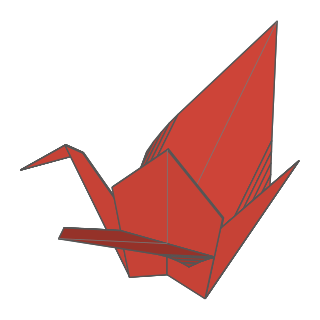
Finished