How to fold a Rabbit Face
- Difficulty
- Medium
- Steps
- 20 steps
- Paper
- One square sheet
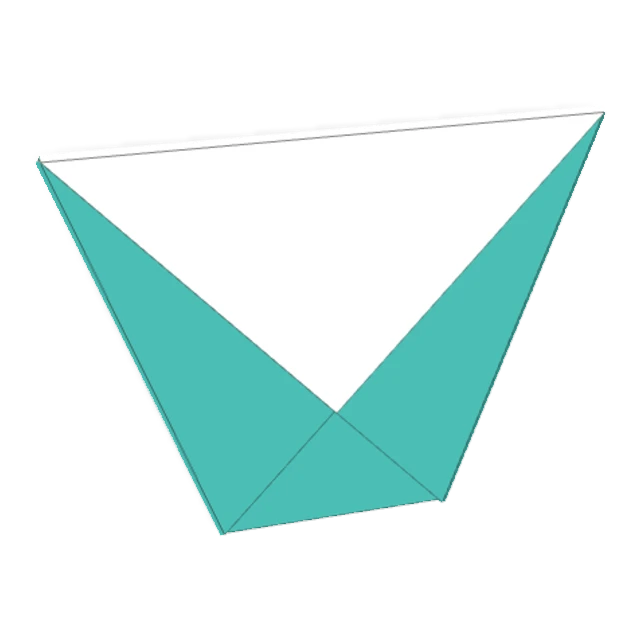
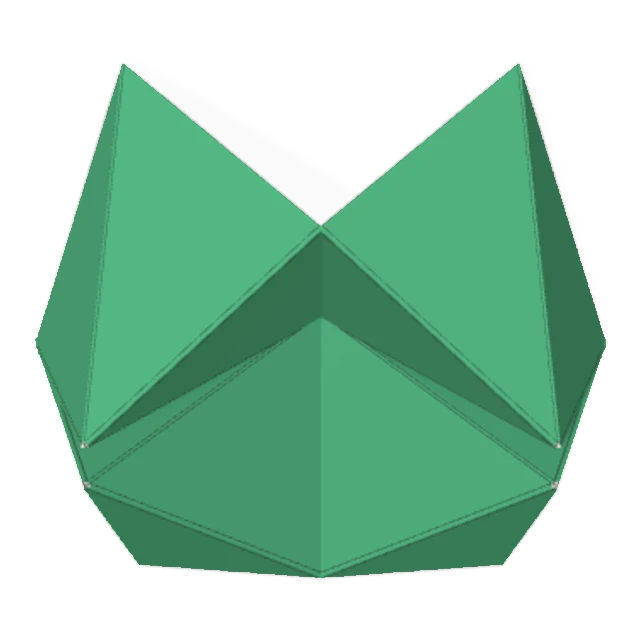
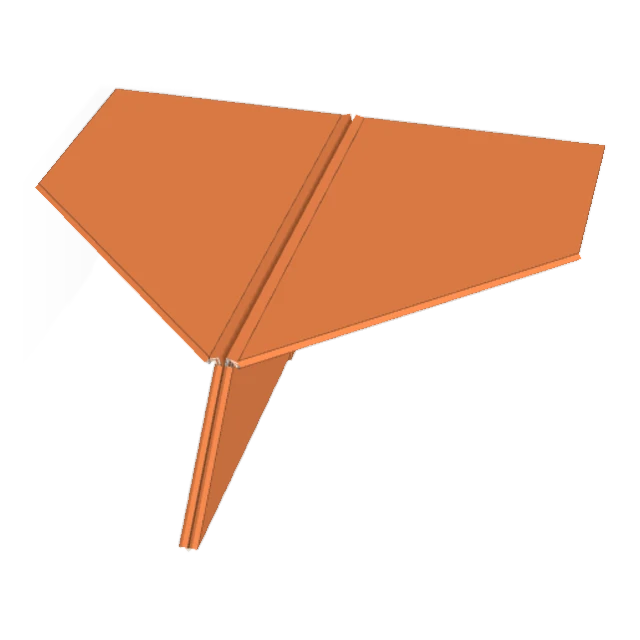
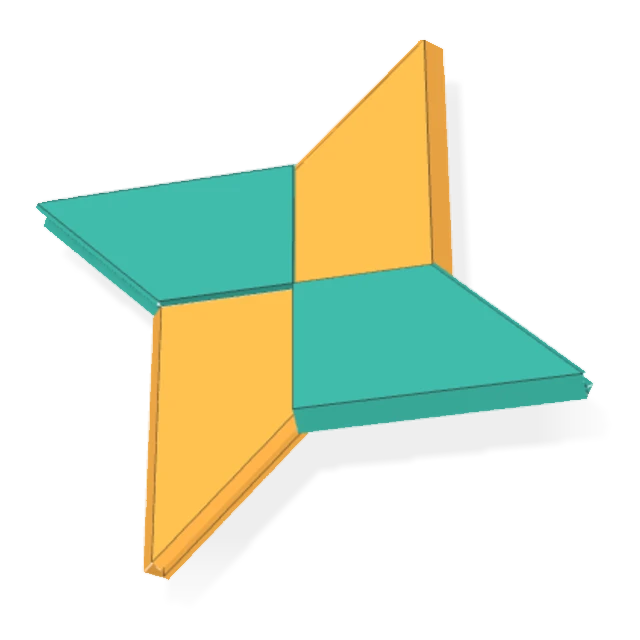
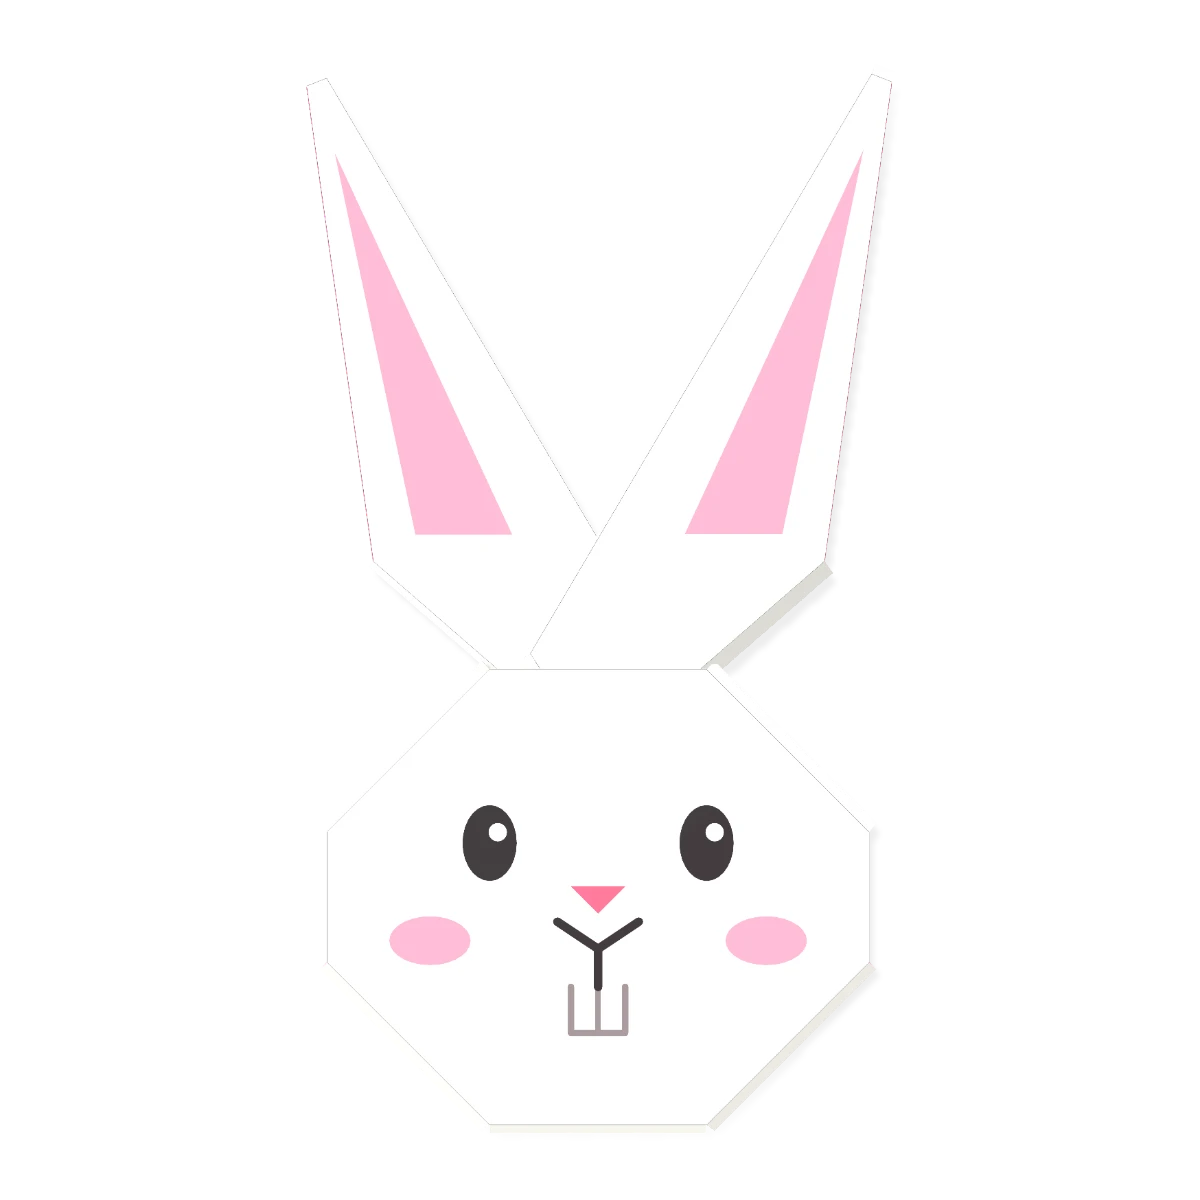
Made from two sheets: a 15 cm square and a quarter of one. Fold the large sheet into a long diamond and bend it into a V of long ears, fold the small sheet into a round face, and lay it on top. Draw the front teeth and pink inner ears to finish.
Steps to fold a Rabbit Face (20 steps)
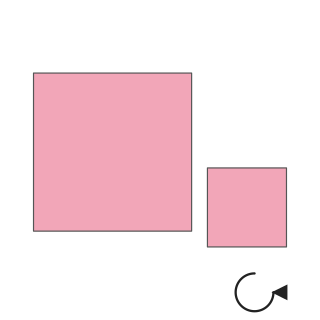
Step 1Use one 15 cm sheet and one 7.5 cm sheet (a 15 cm sheet cut in quarters). Put the large sheet (the ears) colored side up, turned so a corner points toward you.
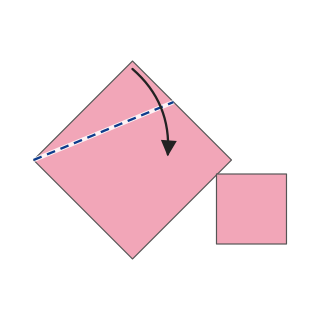
Step 2Fold the upper left edge down to the line between the left and right corners.
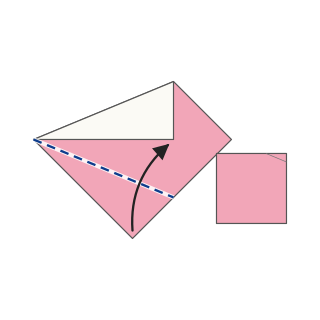
Step 3Fold the lower left edge up to the same line.
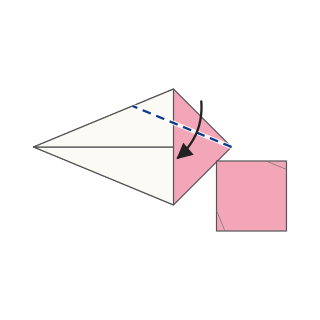
Step 4Fold the upper right edge down to the same line.
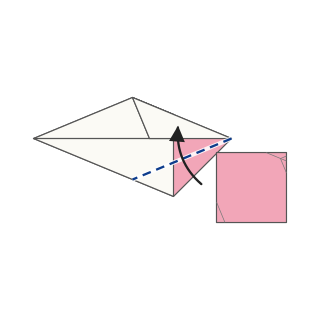
Step 5Fold the lower right edge too. You now have a long, thin diamond pointed at both ends.
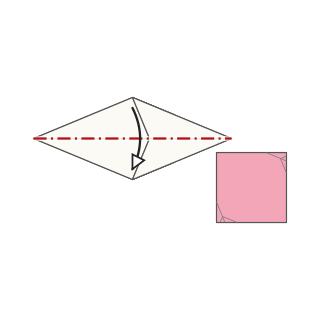
Step 6Fold the top half behind along the middle. It becomes two long, thin triangles joined in the middle.
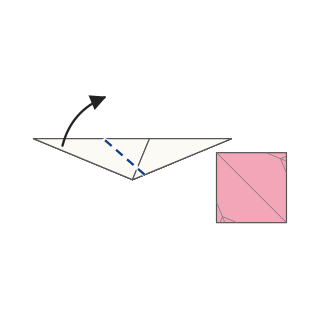
Step 7Fold the left half up at a slant from just left of the middle, until its tip points straight up and a little outward (to the left). This is the first ear.
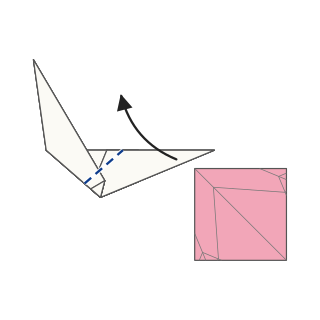
Step 8Fold the right half up the same way, until its tip points a little outward (to the right). The two ears stand in a V.
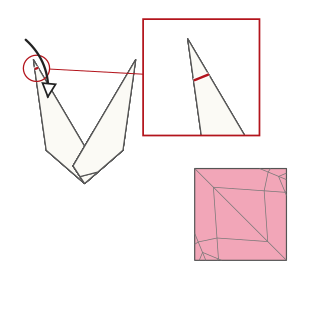
Step 9Fold the tip of the left ear behind a little to soften the point.
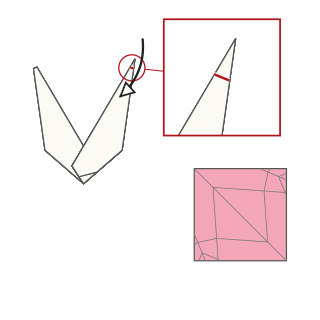
Step 10Fold the tip of the right ear behind the same way. The ears are done.
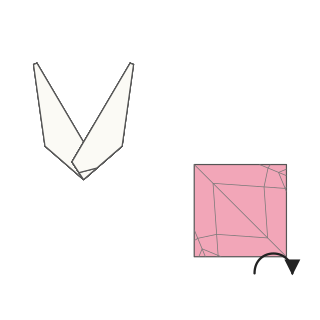
Step 11Turn the small sheet (the face) over so the white side is up.
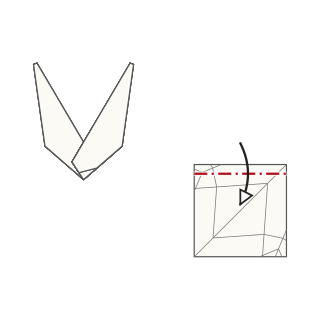
Step 12Fold the top edge of the face sheet a little behind.
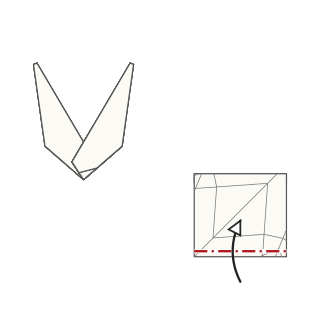
Step 13Fold the bottom edge a little behind too.
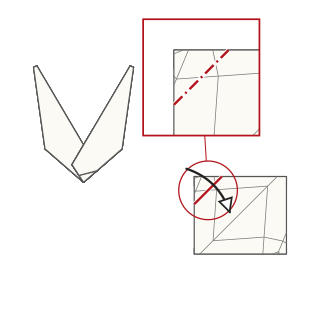
Step 14Fold the top left corner behind, fairly large.
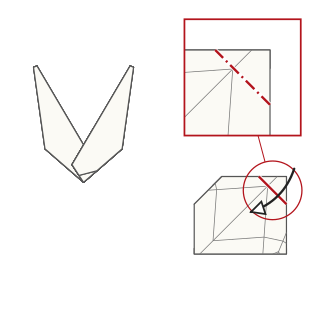
Step 15Fold the top right corner behind the same amount.
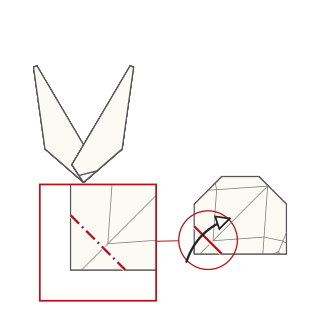
Step 16Fold the bottom left corner behind.
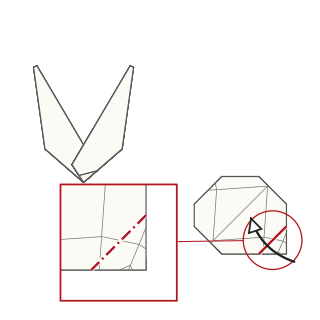
Step 17Fold the bottom right corner behind. The face is now round.
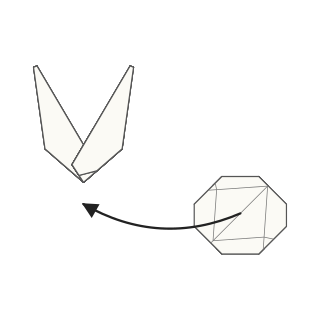
Step 18Lay the face over the base of the ears so the base is hidden, and glue it on (or tuck the base of the ears under the folded edges on the back of the face).
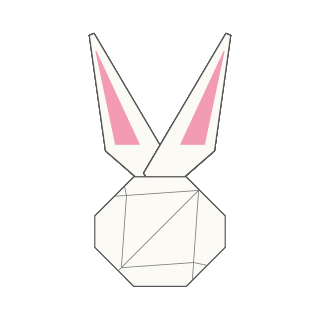
Step 19Color the inside of the ears pink.
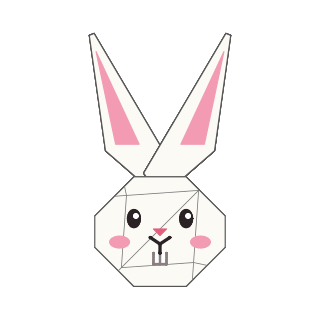
Step 20Draw the eyes and nose, a Y-shaped mouth under the nose, and two front teeth. Color the cheeks pink. The rabbit is finished.
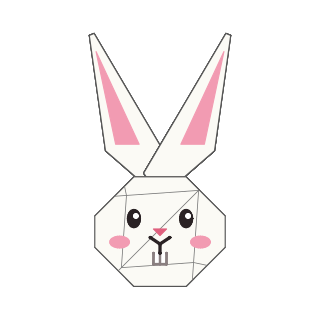
Finished