

How to fold a Goldfish
- Difficulty
- Medium
- Steps
- 16 steps
- Paper
- One square sheet
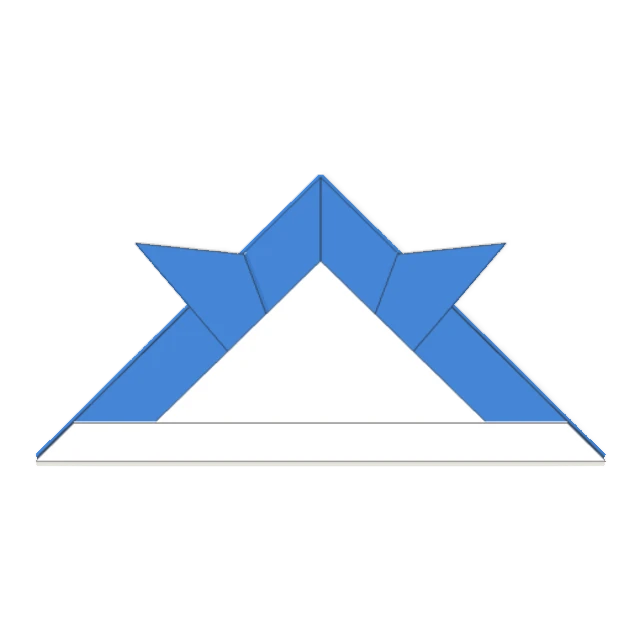
Fold a samurai helmet, open it and refold it into a diamond. Make a small cut with scissors and pull out the tail fin to make a goldfish.
Steps to fold a Goldfish (16 steps)
The Goldfish is a traditional model folded from one square sheet in 16 steps (difficulty: Medium). No square paper? Start with the steps for making a square from A4 or Letter paper.
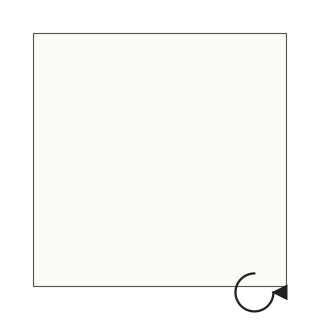
Step 1Start with the white side up and turn the paper so a corner points toward you.
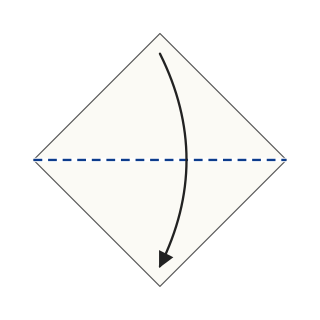
Step 2Fold the top corner down to the bottom corner to make a triangle.
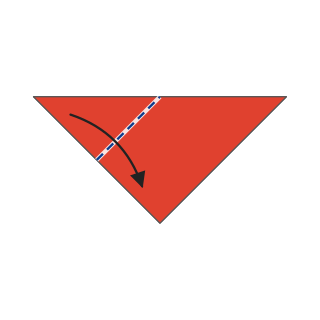
Step 3Fold the left corner down to the bottom corner.
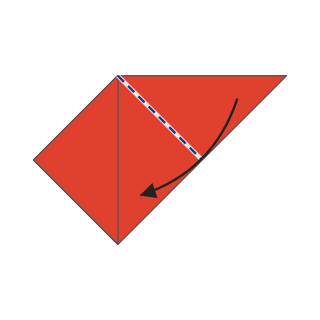
Step 4Fold the right corner down the same way.
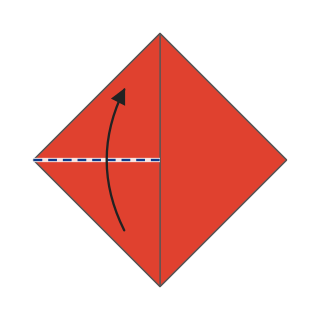
Step 5Fold the tip of the left flap up to the top corner.
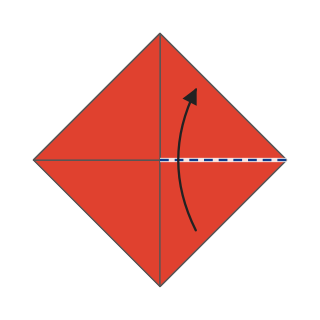
Step 6Fold the tip of the right flap up to the top corner.
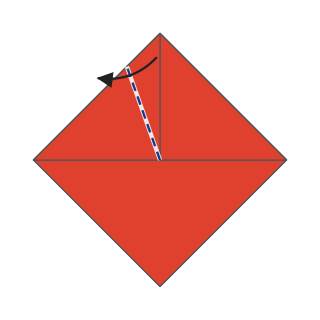
Step 7Fold the left tip outward at an angle to make a horn.
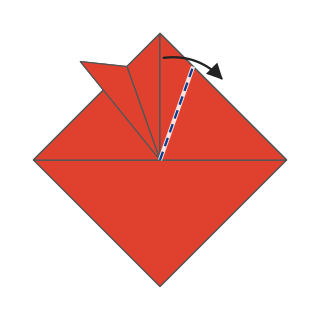
Step 8Fold the right tip outward to make the other horn.
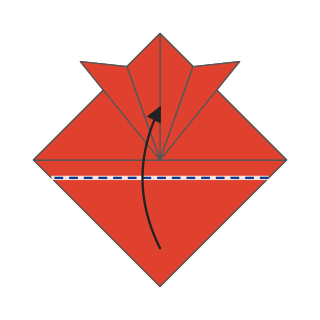
Step 9Fold only the top layer of the bottom corner up, so its tip stops just short of the top corner. (The white back of the paper shows here.)
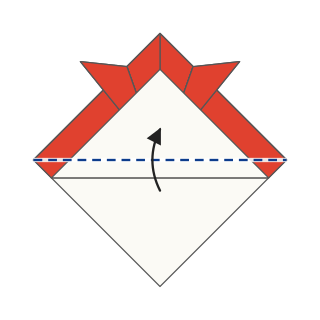
Step 10Fold the band up once more along the edge.
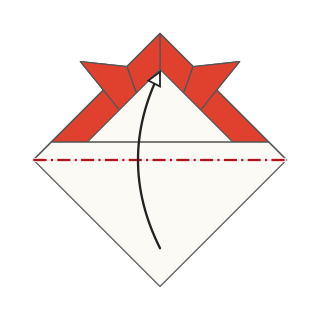
Step 11Fold the remaining bottom corner behind along the edge. This is the helmet shape (open the bottom a little and the helmet is done).
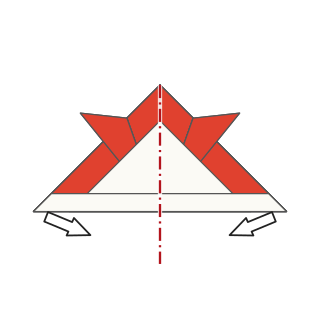
Step 12Open the bottom and refold it so the left and right ends meet. It turns into a diamond.
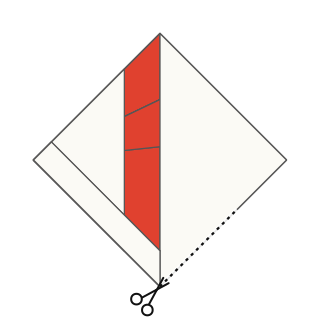
Step 13With scissors, cut along the lower right edge from the bottom corner, through both the front and back layers, about 60% of the way.
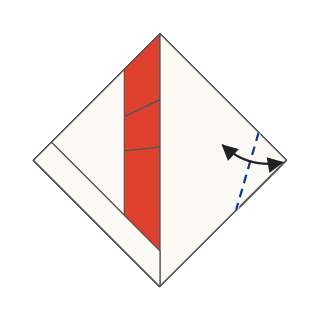
Step 14Fold the right corner over as a triangle along the slanted line that ends where you cut, crease, and unfold.
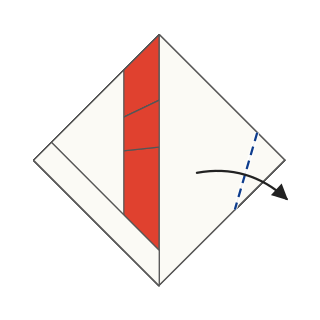
Step 15Pull the front layer out to the right, turning it over, and fold it along the crease. It becomes the tail fin.
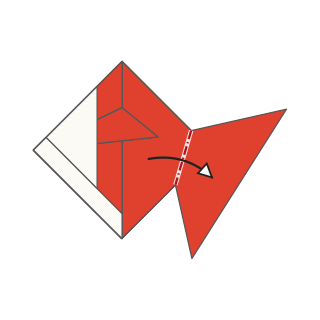
Step 16Do the same with the back layer, pulling it out to the right behind. The goldfish is finished.
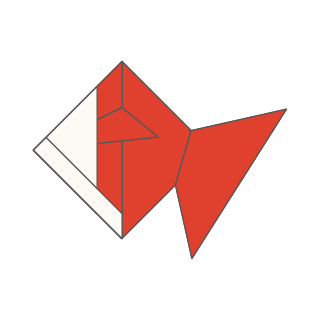
Finished
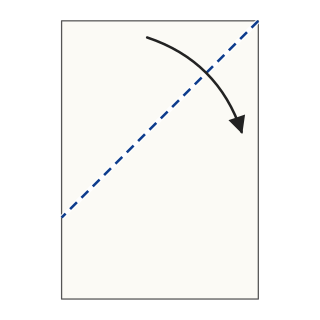
Preparing paper
More models
-
Car
-
Cat Face
-
Paper Cup
-
Heart
-
Samurai Helmet
-
Dart Paper Airplane
-
Penguin
-
Piano
-

Pumpkin
-
Sailboat
-
Water Balloon Yo-yo
-
Water Balloon
-
Cicada
-
Hakama
-
Masu Box
-
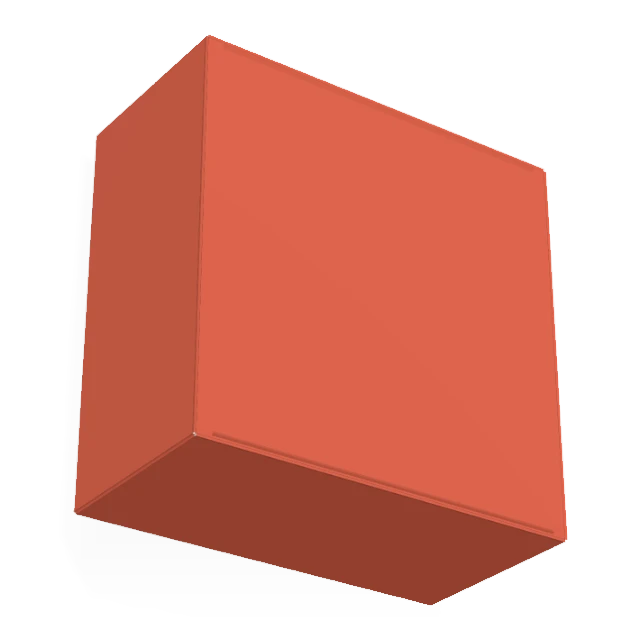
Box with a Lid
-
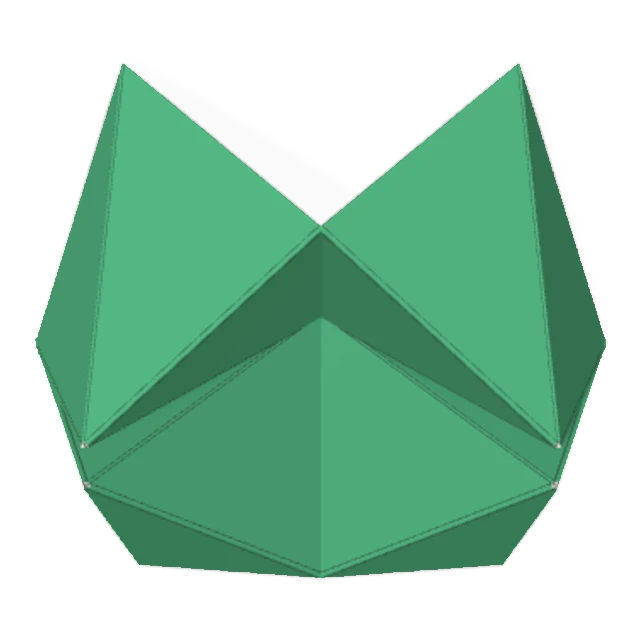
Fortune Teller
-
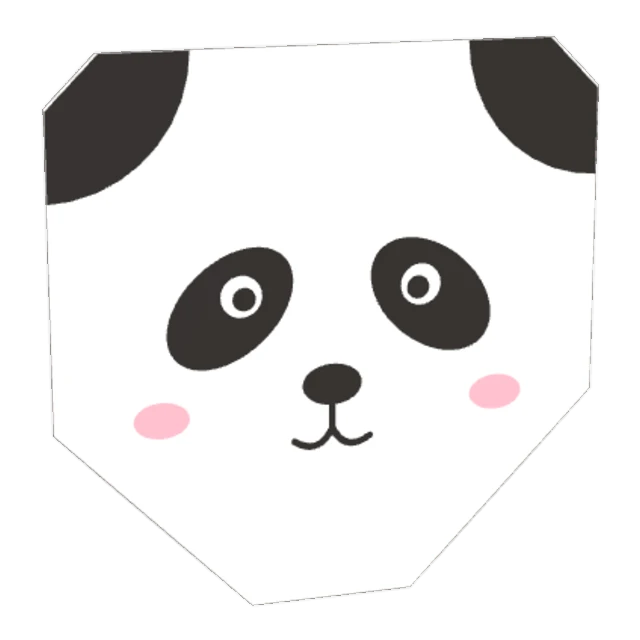
Panda Face
-
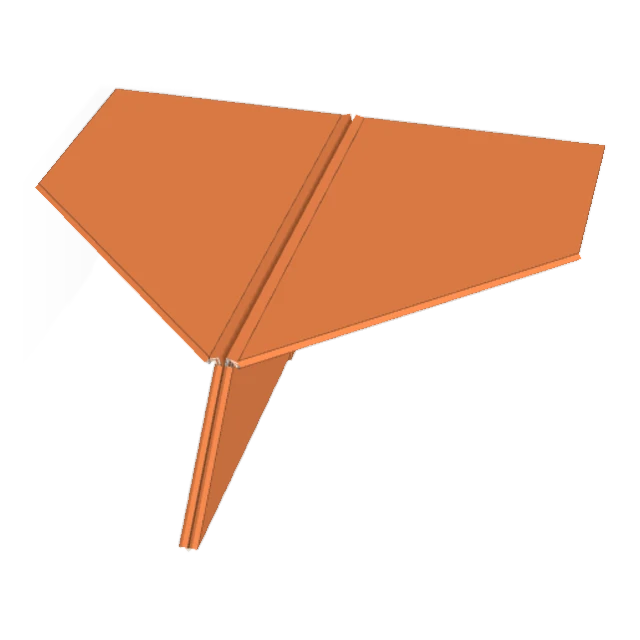
Heso Glider (Locked-Nose Paper Airplane)
-
Rabbit Face
-
Ninja Star
-
Swan
-
Twin Boat
-

Pinwheel
-
Yakko-san
-
Boat with Sail
-
Butterfly
-
Paper Crane
-
Crane with Legs
-
Jumping Frog